I'm often asked, "How long does it take to weave a shawl?"to which I have no quick answer. It depends on the purpose of the piece and/or the occasion of the gift, whether I know the person who will be wearing it and what I know about the person, the size of the piece and the yarn, the number of types and colors of yarns, weave structure (or pattern), and the loom, just to name a few. So, rather than giving you the days and hours I spent on a particular piece, I thought I'd take you on a short journey, of weaving two pieces from one warp in preparation of my Exhibit(ion).
Please note this is by no means a tutorial on how to weave. I am leaving out vital but boring technical information. And in weaving, there are always many different ways to accomplish the same thing; most weavers become comfortable over time with one method, which accommodates the body size, the loom type and size, the available equipment/assistance and space. (And this is also a disclaimer for my doing things other weavers and weaving teachers might cringe at if they only saw me.) I also lack confidence with proper weaving or design parlance, but with the help of a few photographs, I hope you get the feel of the work I do.
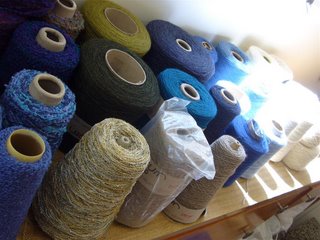
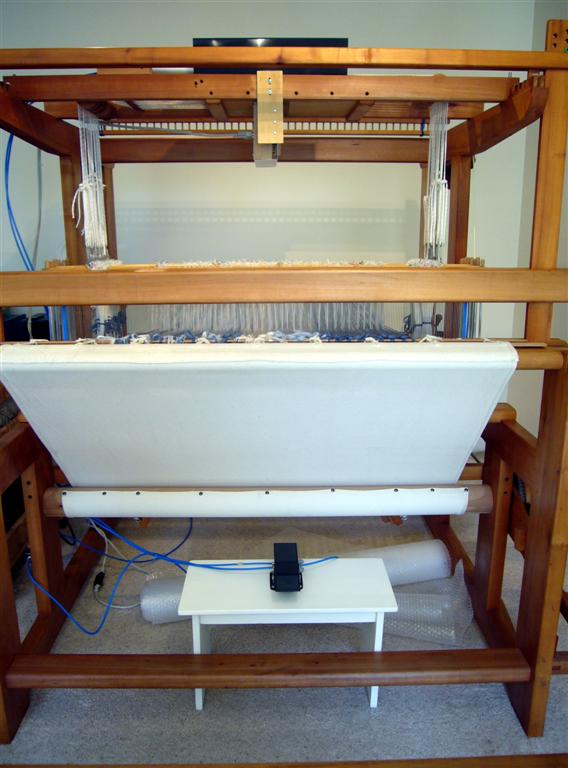
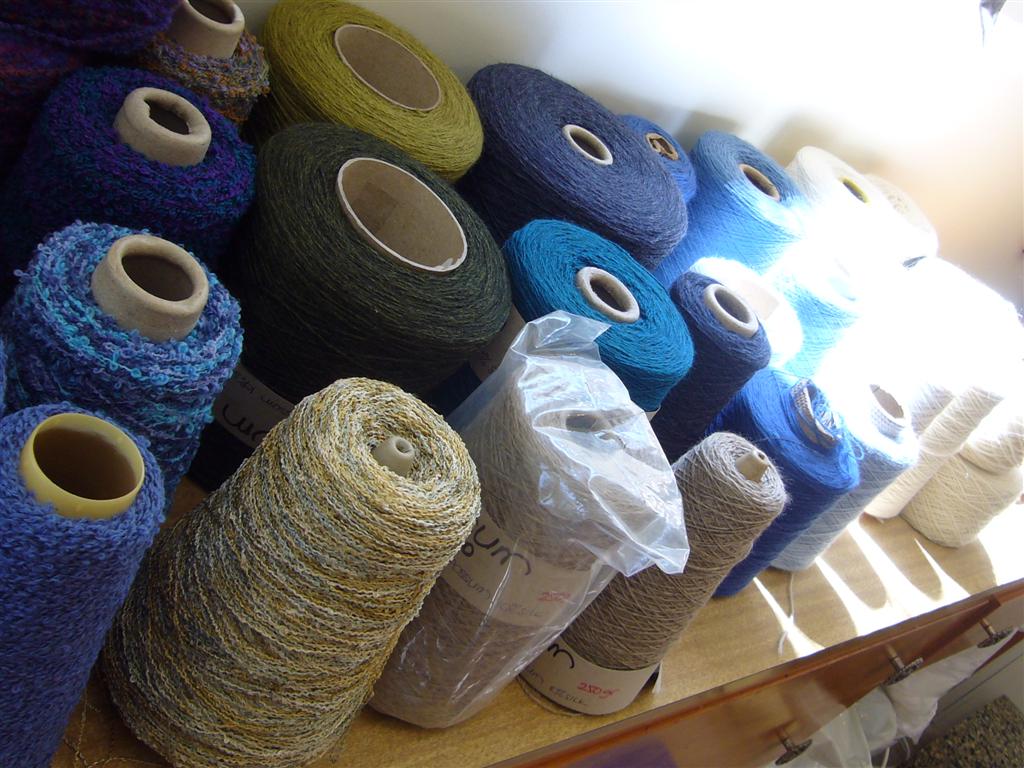
Unlike my usual work, (one-off pieces as special gifts or to be sent to juried exhibits), I need to weave a series of shawls which are interesting in their own right, but collectively not dissimilar, to give the Exhibit(ion) an visual cohesiveness. So I selected the sea as my theme. I placed cones of blue and white yarns all over the house so I was constantly looking at them and thinking about the theme.
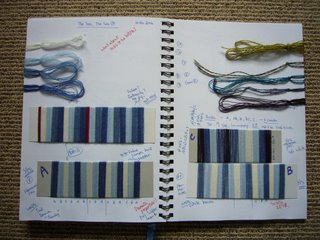
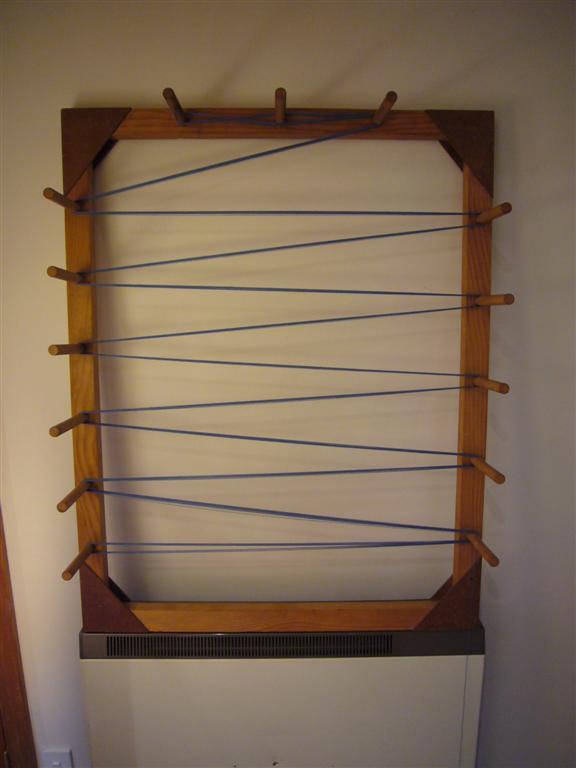
I narrowed down the yarns I can use as my warp (that is, the length-wise group of threads that will be 'attached' to the loom) and started playing with combinations. The small strips you see are called "wrapping", where warp candidates are wound around a small piece of cardboard. I don't usually do this, but because I needed to keep "the series" in mind and thought it best to keep good records, I made a few wrappings. The short time this took paid off as I did not like the look of my two mid-blues adjacent to each other (even though they look alright on cones sitting next to each other); the darker mid-blue was much more vivid/intense than the paler mid-blue. However the variegated powder blue looked good next to either mid-blue.

At the same time, I wanted to use my new knowledge of Fibonacci Sequence, so I had charts showing different proportions and arrangements, again, all over the house.

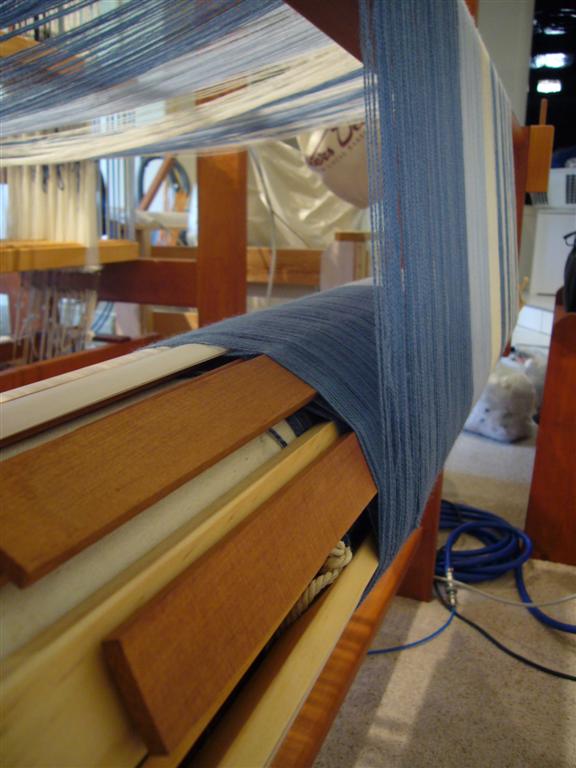
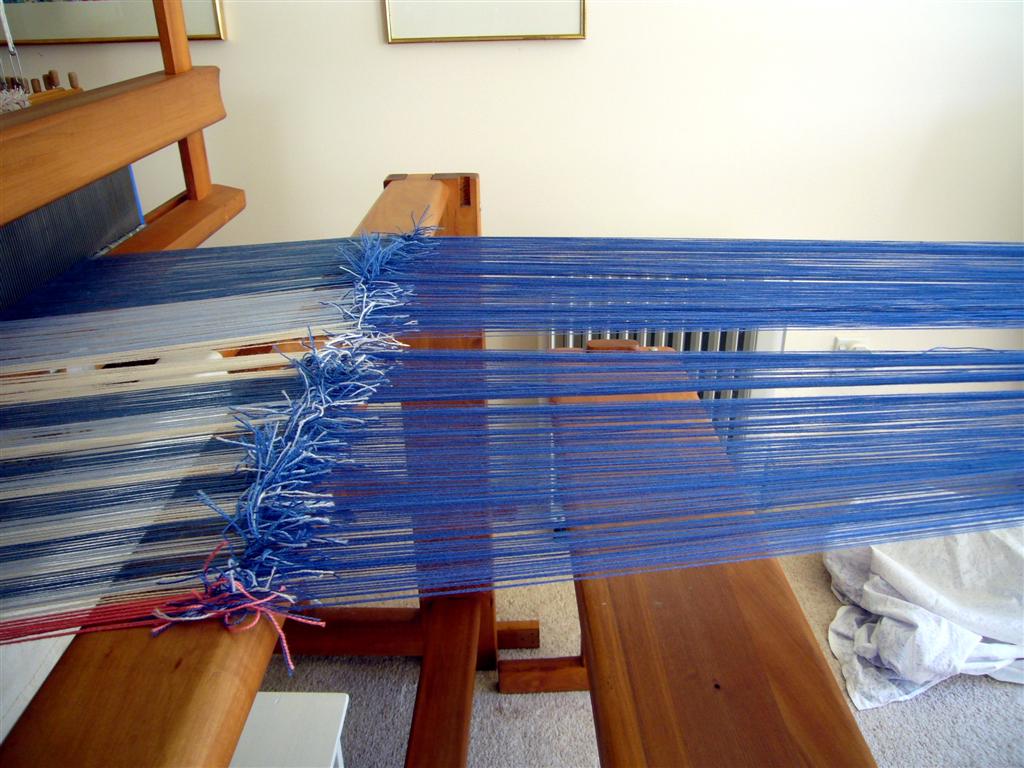
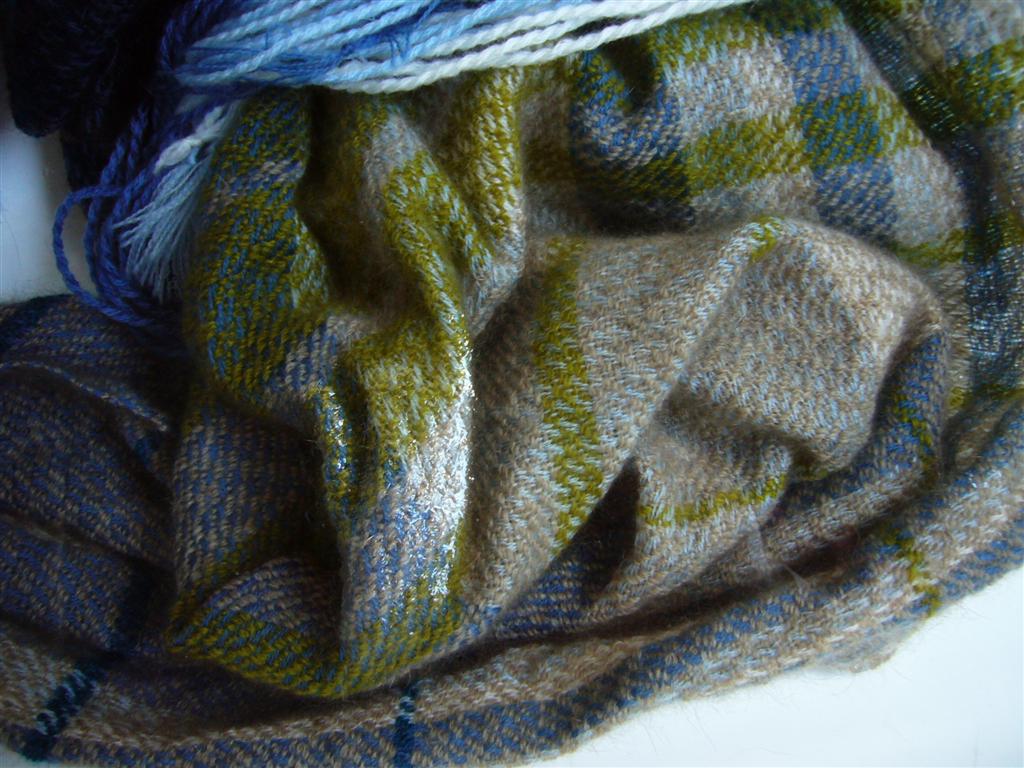
For the first warp, I decided to try the easiest option and place three colors, pale mid-blue, variegated powder blue, and undyed, to express waves on the beach. The order will be a simple repetition of mid-powder-undyed, and I need 494 warp threads for the design part, and two on each edges to secure, so a total of 498 warp threads. A more conscientious weaver might have colored in the chart or made a proportional wrapping, but I'm a waver, not a wrapper, so I moved on .
The design process is a long-drawn out one for me, because I see so many possibilities and I can't make up my mind. I started this about six months ago, and it will be on-going until I cut off the last piece from the last warp. From selecting the yarns for the first warp, deciding on the placement and proportion of the colors, and calculating the number of threads in each color took me approximately an half of an afternoon.
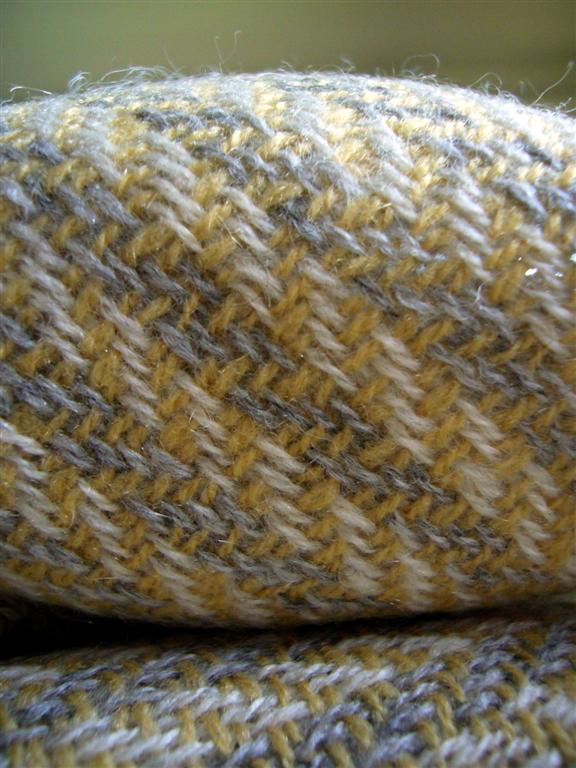
 Men's mean they are just a little more densely woven, and are wider. Warp in two grays; one scarf is with weft in clear yellow, another in dirty yellow. 100% cashmere.